Quick Summary
Integrating eSignatures with SharePoint streamlines document workflows, speeds approvals, and ensures compliance. Microsoft’s native eSignature offers basic functionality but lacks flexibility. SignWell, combined with Zapier, automates signature requests and returns, maintaining audit trails and security. The result is faster, more reliable, and professional document management within Microsoft 365.
Struggling with Slow, Manual Document Approvals in SharePoint?
Managing contracts, HR forms, or vendor agreements in SharePoint can feel like juggling fire. Files get lost in folders, signatures take days to collect, and keeping track of who has signed, or who’s still pending, can turn even simple approvals into a time-consuming headache.
That’s where eSignature integration comes in. In this SignWell article, we’ll walk you through SharePoint eSignature integration and automation, showing you how to save time, reduce errors, and keep your document processes flowing smoothly.
But first…
Why Listen to Us?
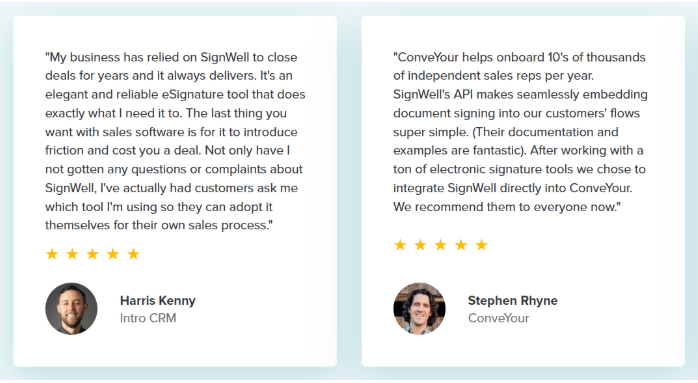
At SignWell, we’ve helped over 65,000 businesses simplify document signing and manage 10+ million eSignatures, gaining deep expertise in secure, efficient digital workflows. Our hands-on experience with clients of all sizes gives us unique insight into optimizing SharePoint eSignature integration and automation, so you can implement solutions that actually work in real-world business environments.
Why Integrate eSignatures with SharePoint?
SharePoint is a content management and collaboration platform within Microsoft 365 that lets organizations securely store, organize, and share documents, data, and applications from any device.
Here’s why adding eSignatures to SharePoint can transform your workflows:
- Faster Workflows: Sign directly from SharePoint and have completed documents automatically returned, cutting processing time from days to hours.
- Better Security & Compliance: Generate tamper-proof audit trails and meet legal standards like the U.S. ESIGN Act and EU eIDAS, simplifying audits.
- Stronger Governance: Keep signed documents in the correct SharePoint library, preserving a single source of truth and leverage Microsoft 365 security controls.
- Improved User Experience: Employees stay in familiar tools, and clients get a professional, device-friendly signing experience, enhancing collaboration and reducing delays.
How to Integrate and Automate eSignatures in SharePoint
Method 1: By Connecting Microsoft SharePoint with SignWell (Recommended)
Connecting SignWell with Microsoft SharePoint allows you to fully automate your document signing workflows, keeping everything within the familiar Microsoft 365 ecosystem.
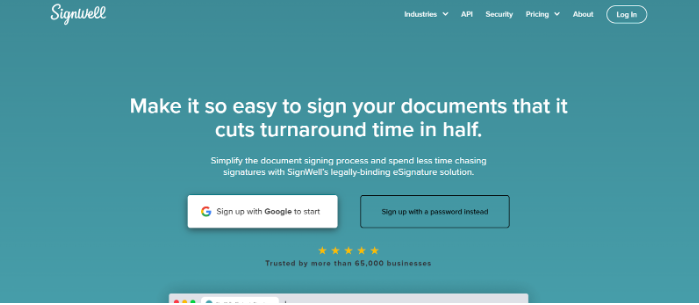
SignWell is a powerful, legally binding electronic signature platform that simplifies document signing, while Zapier is a no-code automation platform that connects SharePoint and SignWell.
Here’s a step-by-step guide to getting started:
Step 1: Create a SignWell Account
- Visit the SignWell website.
- Choose one of the following to sign up:
- Sign up with Google for a fast, one-click registration.
- Sign up with your email by entering your unique email address and creating a secure password.
- Complete the registration process and verify your email address.
Note: Signing up for SignWell is completely free and gives you immediate access to create and send legally binding eSignature documents.
Step 2: Create a Zapier Account
- Go to Zapier.com and click Sign Up.
- Complete the registration process using your email or Google account.
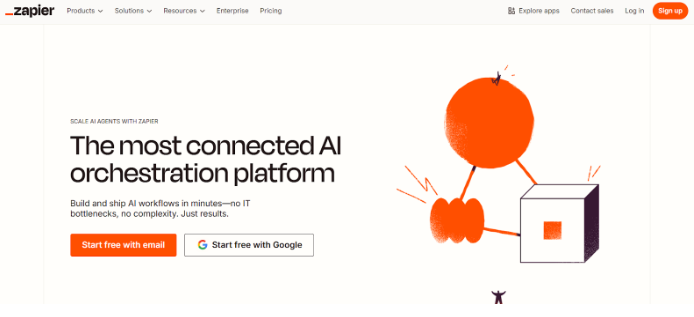
Note: Zapier’s free tier allows limited automation. To integrate Microsoft SharePoint, you’ll need the Professional plan at $29.99/month, which provides 750 tasks per month, enough for most small- to medium-sized workflows.
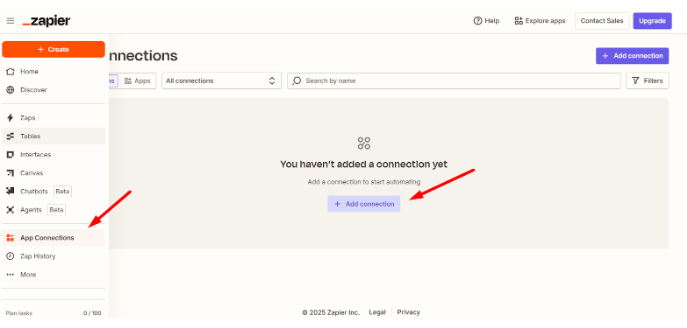
Once registered, log in to your Zapier dashboard to start building your automated workflow (called a “Zap”).
Step 3: Connect Your Accounts in Zapier
Once registered, you can now start building your automated workflow (called a “Zap”).
- In your Zapier dashboard, navigate to App Connections → Add Connection.
- Search for Microsoft SharePoint and connect your account. You’ll need to log into SharePoint and grant Zapier access.
- Repeat the process for SignWell, logging in and granting the required permissions.
- Once both accounts are connected, you’re ready to build your workflow.
Step 4: Create Your First Automated Workflow (“Zap”)
- At the top left corner of the Zapier dashboard, click Create → Zap to open the visual workflow builder.
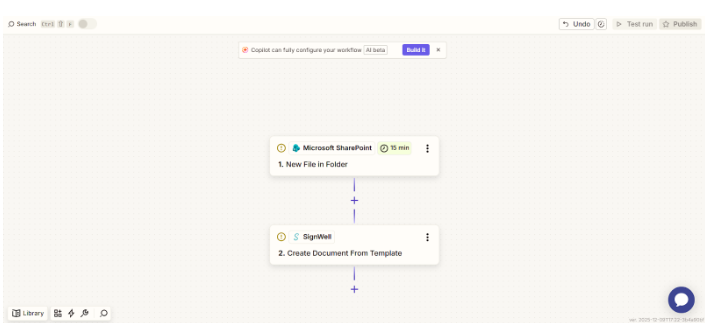
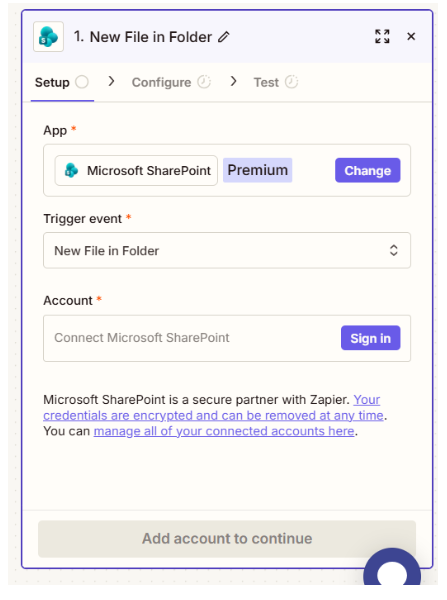
2. Set the Trigger (SharePoint):
-
- App: Microsoft SharePoint
- Event: New File in Folder
- Under the configure tab, choose the SharePoint site and the specific folder to monitor (e.g., Contracts/Awaiting Signature).
- Switch to the Test tab and run a test to ensure Zapier can successfully detect files in the chosen folder.
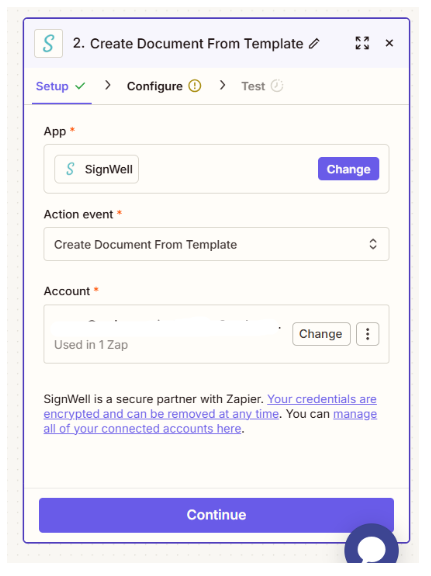
3. Set the Action (SignWell):
-
- App: SignWell
- Action Event: Create Document From Template
Connect Your Account: If you haven’t already, connect your SignWell account to Zapier by logging in and granting access.
- Configure Action Details
- Document Template: Select the ready-made SignWell template you want to send for signature. You must have already taken the document that will be dropped into your SharePoint folder and turned it into a template inside SignWell.
This is important because Zapier does not send the actual SharePoint file for signature. The SharePoint file only triggers the automation. The document that SignWell sends is the template you created beforehand.
This setup works best for documents with a consistent structure and pre-mapped fields.
- From: Enter the sender email address.
- CC Completed Document: Add any email addresses that should receive a copy of the completed document.
- Subject: Customize the email subject for recipients.
- Message: Write a message to guide the signer through the process.
- Response Format: Typically set to plain unless you require a different format.
- Test the Action: Run a test to verify that SignWell can create and send a document based on the selected template.
- Publish and Activate the Zap
- Name your Zap (e.g., “Send Contract for Signing from SharePoint”).
- Turn it On. Your workflow is now live. Any new file in the monitored SharePoint folder will automatically trigger a SignWell signing request.
Step 5: Automate the Return Process
- Create a second Zap
- Trigger: Document Completed in SignWell
- Action: Upload File to a “Completed Contracts” folder in SharePoint
- Add notifications (optional): Send Slack messages or emails to alert your team once a document is signed
- Test the Zap:
- Confirm that the signed document is correctly uploaded
- Verify that all notifications are sent as configured
Step 6: Summary of Your Workflow
- Files uploaded to SharePoint are routed via SignWell for eSignature
- Signed documents are returned to SharePoint without manual intervention.
- Audit trails and compliance data are maintained automatically.
Related Articles:
- Our Guide To Streamlining Business Processes With eSignature CRM Integration
- eSignature For Procurement: How to Speed Up Procurement Approvals
Method 2: By Using Microsoft’s Native eSignature Solution
Another option is to use Microsoft’s built-in eSignature service, which works directly within SharePoint. It lets you send, sign, and manage documents without leaving Microsoft apps. Keep in mind that it may not offer the same flexibility or advanced workflow features as a dedicated eSignature platform like SignWell.
Step 1: Administrator Setup
Before anyone in your organization can send documents for signature, a Microsoft 365 administrator must enable the eSignature service.
- Who Can Do This: Only a Global Administrator or SharePoint Administrator can perform this setup.
- Configure in Admin Center:
- Go to the Microsoft 365 Admin Center.
- Navigate to Settings > Org settings > Pay-as-you-go services.
- Select eSignature.
3. Enable the Service: Click “Let people in your organization use eSignature.”
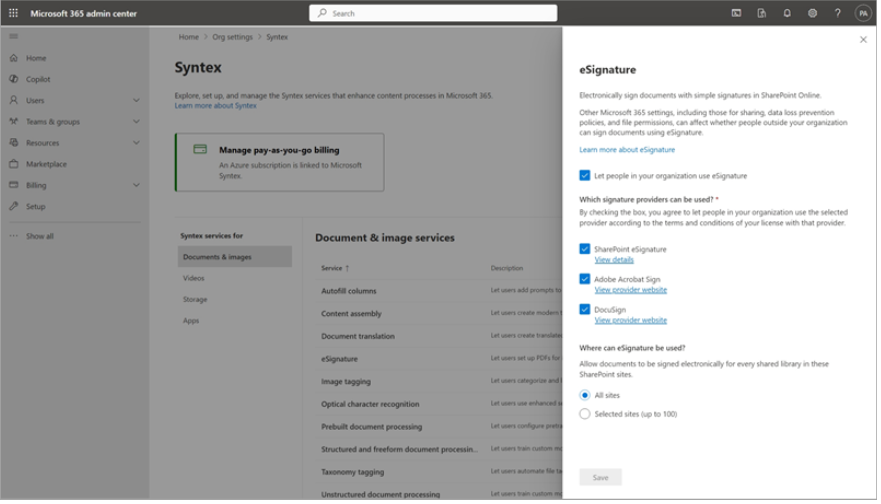
4. Configure Access:
-
- Select Sites: Choose whether eSignature is available on All sites or up to 100 specific SharePoint sites.
- Enable Word Integration (Optional): To send signature requests directly from Word, enable the Word (Desktop) option and apply the necessary group policy.
Once this setup is complete, the service becomes fully operational within 24 hours.
Step 2: Create a Signature Request from a SharePoint PDF
After setup, users can send documents for signature directly from SharePoint.
- Navigate to Your Document: Go to your SharePoint site and open the library containing the PDF you need signed.
- Open the PDF: Click the file to view it in the SharePoint viewer.
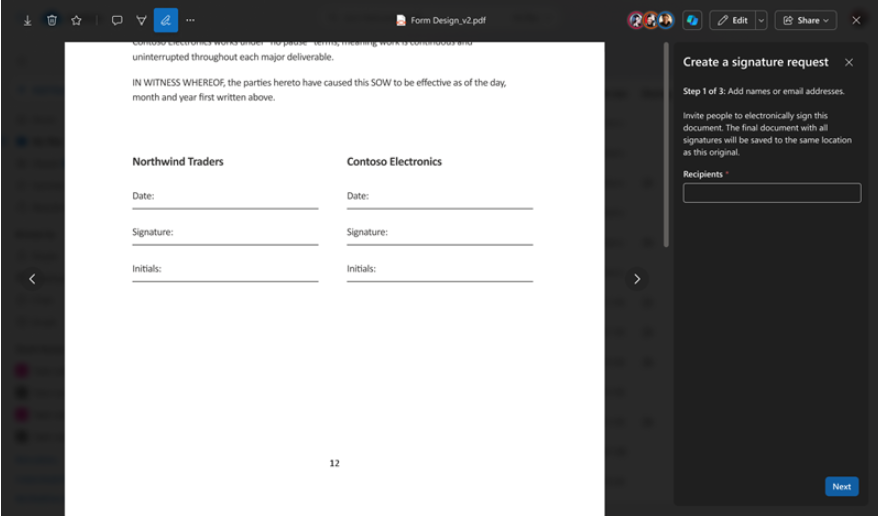
3. Initiate the Request: Click the pen icon to open the “Create a signature request” panel.
4. Add Recipients:
-
- Enter email addresses for up to 10 signers (internal or external).
- Drag and drop recipients to set a signing order if needed.
5. Place Signature Fields:
-
-
- Drag and drop Signature, Initials, and Date fields onto the document.
- Mark fields as required or optional.
- Add up to 50 fields total.
-
6. Review and Send:
-
-
-
- Add a title and optional message for recipients.
- Review all details and click Send.
-
-
Recipients will receive an email to sign, and you’ll get notifications as each signer completes their part.
Step 3: Manage Requests and Access Signed Documents
- Track Request Status: Use the Approvals app in Microsoft Teams to monitor all eSignature requests via a centralized dashboard.
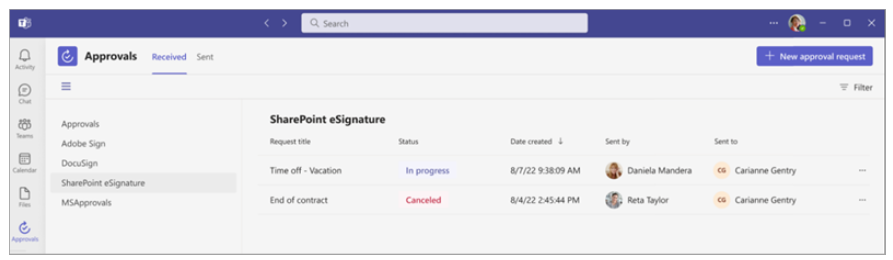
2. Automatic Storage: Completed documents are saved back to the original SharePoint folder, and all parties receive a link to the finalized PDF.
3. Full Audit Trail: Every action, sending, viewing, and signing is logged in the Microsoft Purview Audit Log, providing a legally valid record for compliance purposes.
Streamline Your SharePoint Workflows with SignWell
Managing document approvals in SharePoint doesn’t have to be slow, confusing, or error-prone. With manual processes, missed signatures and lost files are all too common, creating delays that impact productivity and business outcomes.
SignWell makes integrating eSignatures with SharePoint seamless, helping you automate document routing, ensure compliance, and maintain full audit trails. Our platform keeps everything within your Microsoft 365 environment while offering the flexibility and advanced workflow features that native solutions can’t match.
Get started today. Sign up for SignWell for free.
Get documents signed in minutes.
Simple, secure, affordable eSignatures
by
.
Get Started Today
businesses served
customer support satisfaction
documents signed