Helpful Summary
- Overview: We explain how to write effective contracts (and get them signed quickly and securely).
- Why trust us: We’ve helped more than 61,000 businesses streamline their contract workflows with efficient e-signing.
- Why it matters: Clear contracts prevent disputes, strengthen negotiation power, and are foundational to business operations.
- Action points: Follow our process for drafting contracts—start with the basics, gather details, and then flesh your notes out into full clauses.
- Further research: Want to learn more about contacts and contract management? Check out the SignWell blog.
Wondering How to Create a Contract?
Contracts are an important part of modern life. They protect us from misunderstandings and deception, guarantee we get what we pay for, and set expectations for everyone involved in a transaction.
For these reasons (and countless more), knowing how to write a contract is a valuable skill.
So, in this SignWell guide, we thought we’d take you through the steps of drafting a contract from start to finish.
Why Listen to Us?
At SignWell, we’ve helped more than 61,000 businesses get their contracts signed faster and more securely.

Using SignWell, you can save time with vetted templates, reduce errors with automated workflows, and stay compliant with standards like ESIGN, eIDAS, and more.
What Is a Contract?
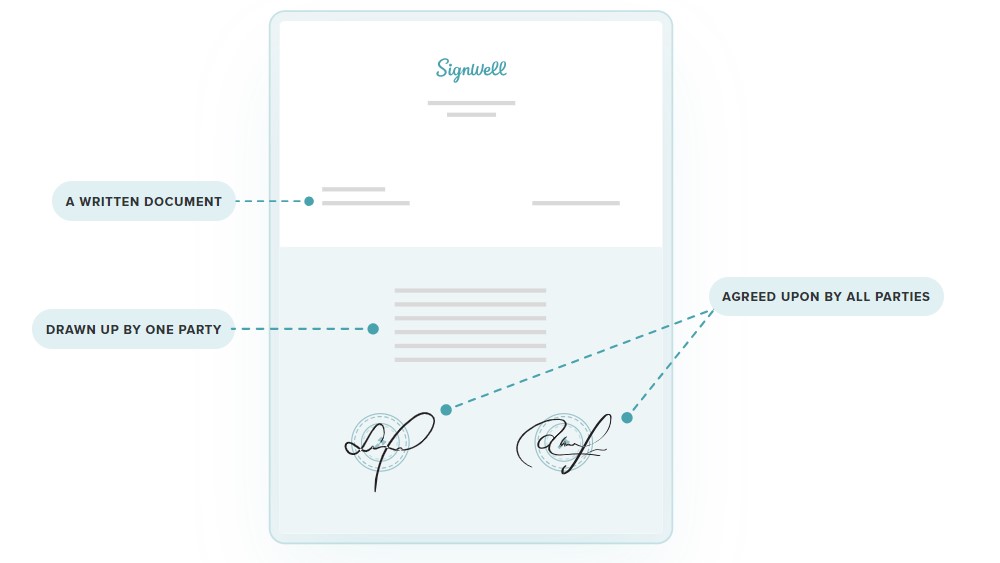
Most people understand what a contract is in rough terms. It’s a document with terms, conditions, and obligations that two or more parties agree to by signing. Once they agree, it becomes legally binding—simple.

While this is a pretty accurate definition, there’s a lot more to contracts than just signing on the dotted line. As we discussed in our elements of a contract guide, there are several essential components that need to be present for a contract to be valid and enforceable.
These include:
- Awareness: Both parties must fully understand the terms of the contract.
- Capacity: Both parties need to have the legal ability to enter into a contract.
- Agreement: Both parties must agree to the terms of the contract.
- Consideration: There needs to be a value exchange.
- Legality: The contract’s subject matter must be lawful and not against public policy.
Writing a contract that satisfies all of these criteria can be tough, especially for complex agreements. But if you’re writing a simple contract for a business transaction, you can definitely learn to do this yourself.
How to Write a Contract
1. Establish the Basics
When you’re writing a contract, the “basics” are:
- The parties (i.e., the people and entities involved)
- The overall purpose
Start by identifying all parties by name (you’ll get more specific in a bit). Then, make a note of how they relate to the contract—for example, are they the seller, service provider, or buyer? Next, clearly state the purpose of the contract.
This could be a simple sentence like “This contract outlines the terms of a business transaction between X company and Y company.”
2. Add Details
Next, you’ll add details that start to flesh out your contract and make it legally binding. At this stage, it’s fine if you’re still using a note-like format to organize your thoughts.
At this stage, you need:
Contact Information
This part is pretty self-explanatory—for every party, you need:
- Full names
- Addresses
- Phone numbers
- Email addresses
Scope of Work
Define (in very clear terms) what is being provided, agreed upon, delivered, etc.
For example, if the contract is between you and a web design client, your scope of work might look something like this:
- 1 wireframe and mockup of the website
- 2 rounds of revisions
- Final delivery of all design files
Terms
Terms are basically the rules that both parties agree to follow when they sign the contract.
These may include:
- Payment terms
- Amount
- Method
- Schedule
- Late fees or penalties
- Timeline for completion
- Termination clause (i.e., if and how the contract can be ended)
- Dispute resolution process (i.e., what happens if there’s a disagreement)
- Non-disclosure agreements
Again, be very clear here—unclear language can lead to misunderstandings (and potentially void your agreements).
3. Start Drafting the Contract
Once you have the details ironed out, it’s time to draft the contract.
Start by coming up with a clear, concise title that captures the purpose of the contract. In most cases, this is pretty simple—for example, you’ll probably title your web design contract something like “Web Design Services Agreement.”
Next, write a brief opening paragraph (roughly 50 words) explaining the who, what, and when in broad strokes. Following this, create a “definitions” section that explains any key terms or phrases used throughout the contract.
For example, you might write:
- “Services” refers to the web design and development services provided by XYZ Company.
- “Party A” refers to the client.
- “Party B” refers to XYZ Company.
This might not be necessary to include in very basic contracts.
4. Write the Terms and Conditions
Now, it’s time to expand the terms and conditions notes you wrote earlier into full-blown clauses.
There are a few ways to do this:
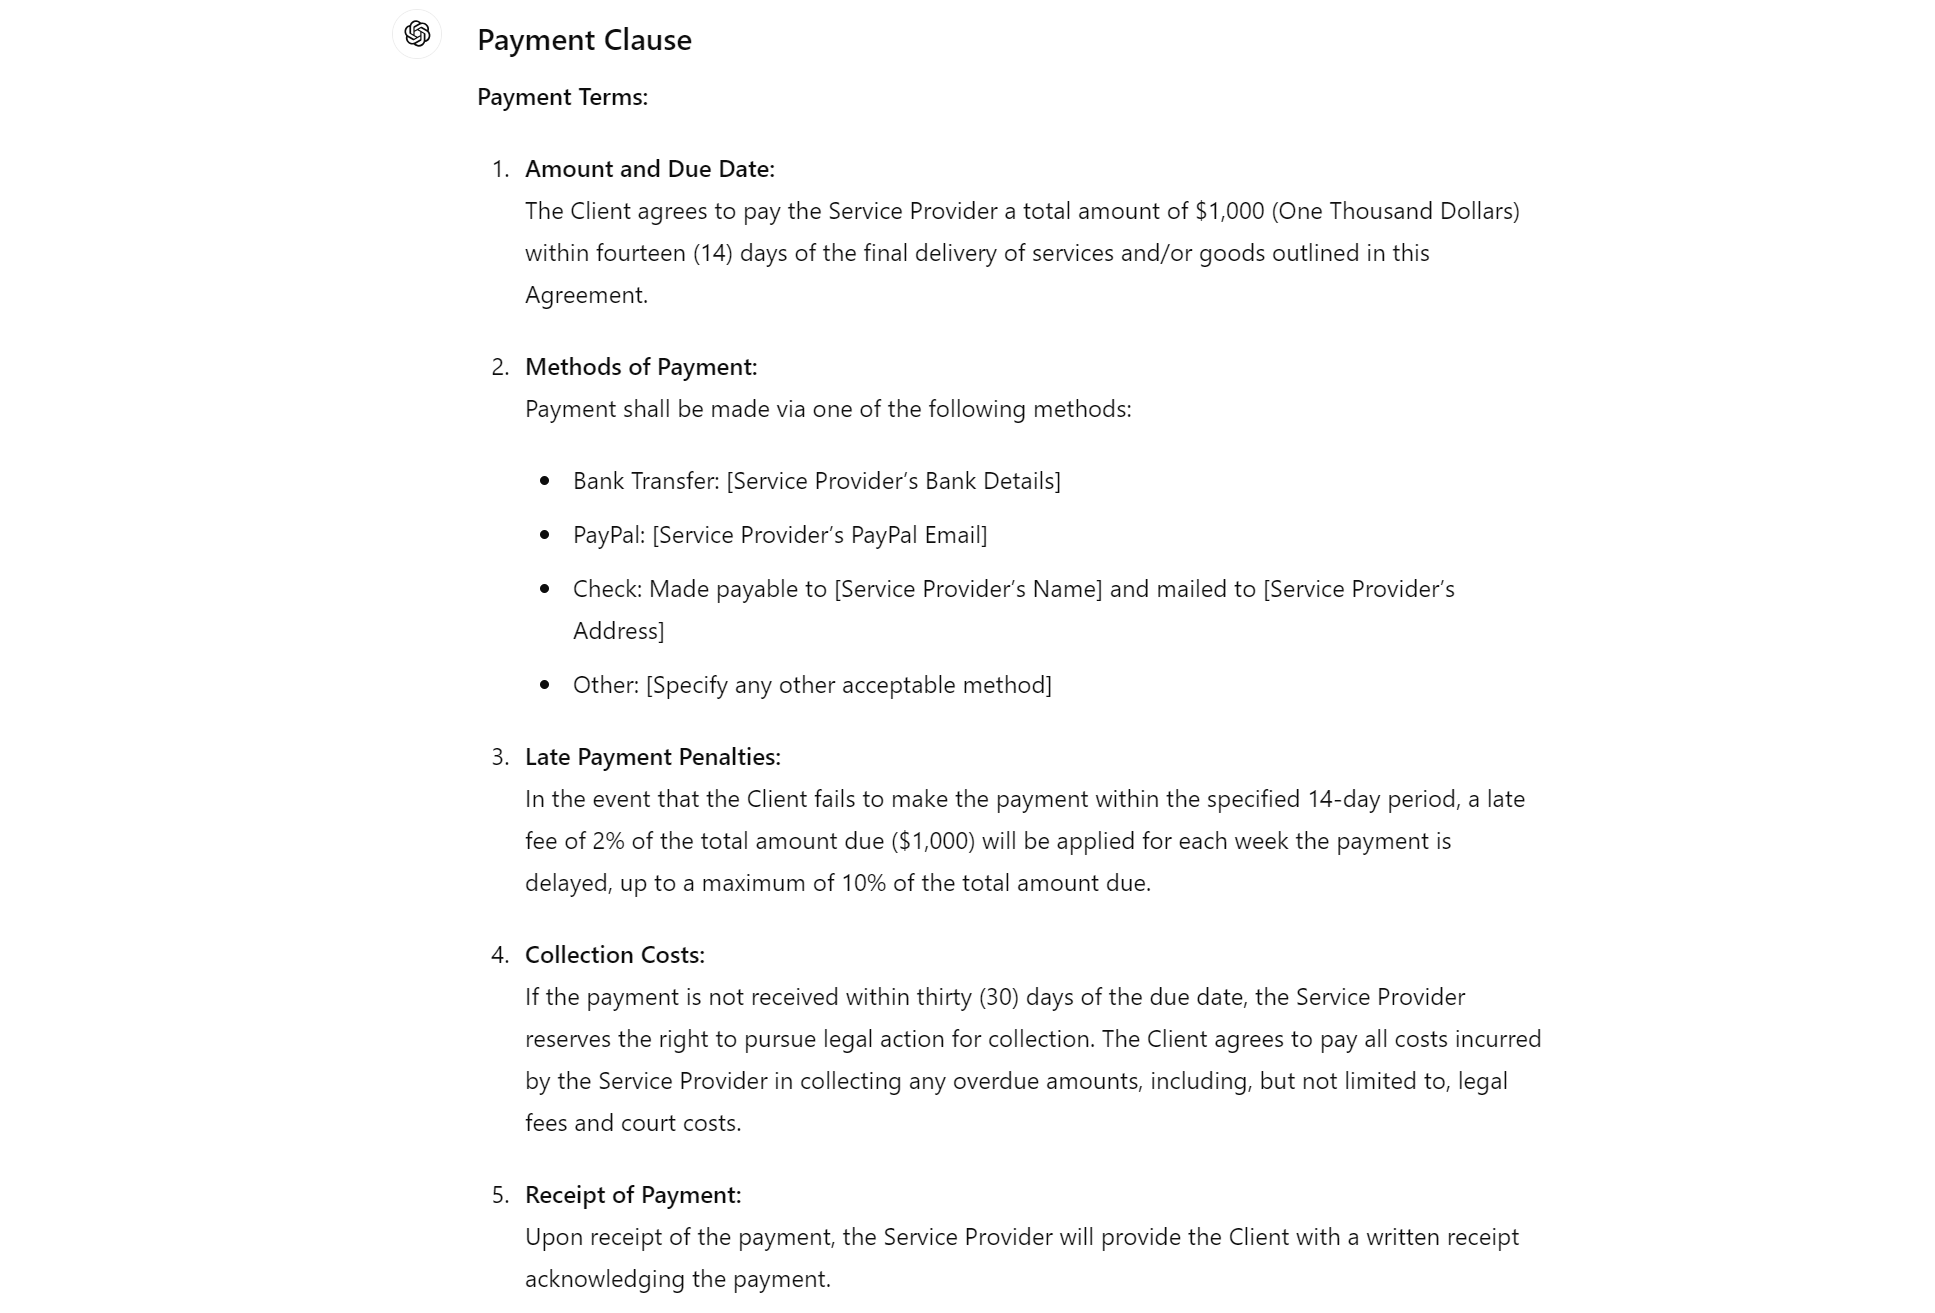
- Use AI: For simple clauses (like payment terms), you can ask chatbots like ChatGPT to generate them. Just provide your notes and ask ChatGPT to turn them into a more substantial clause.

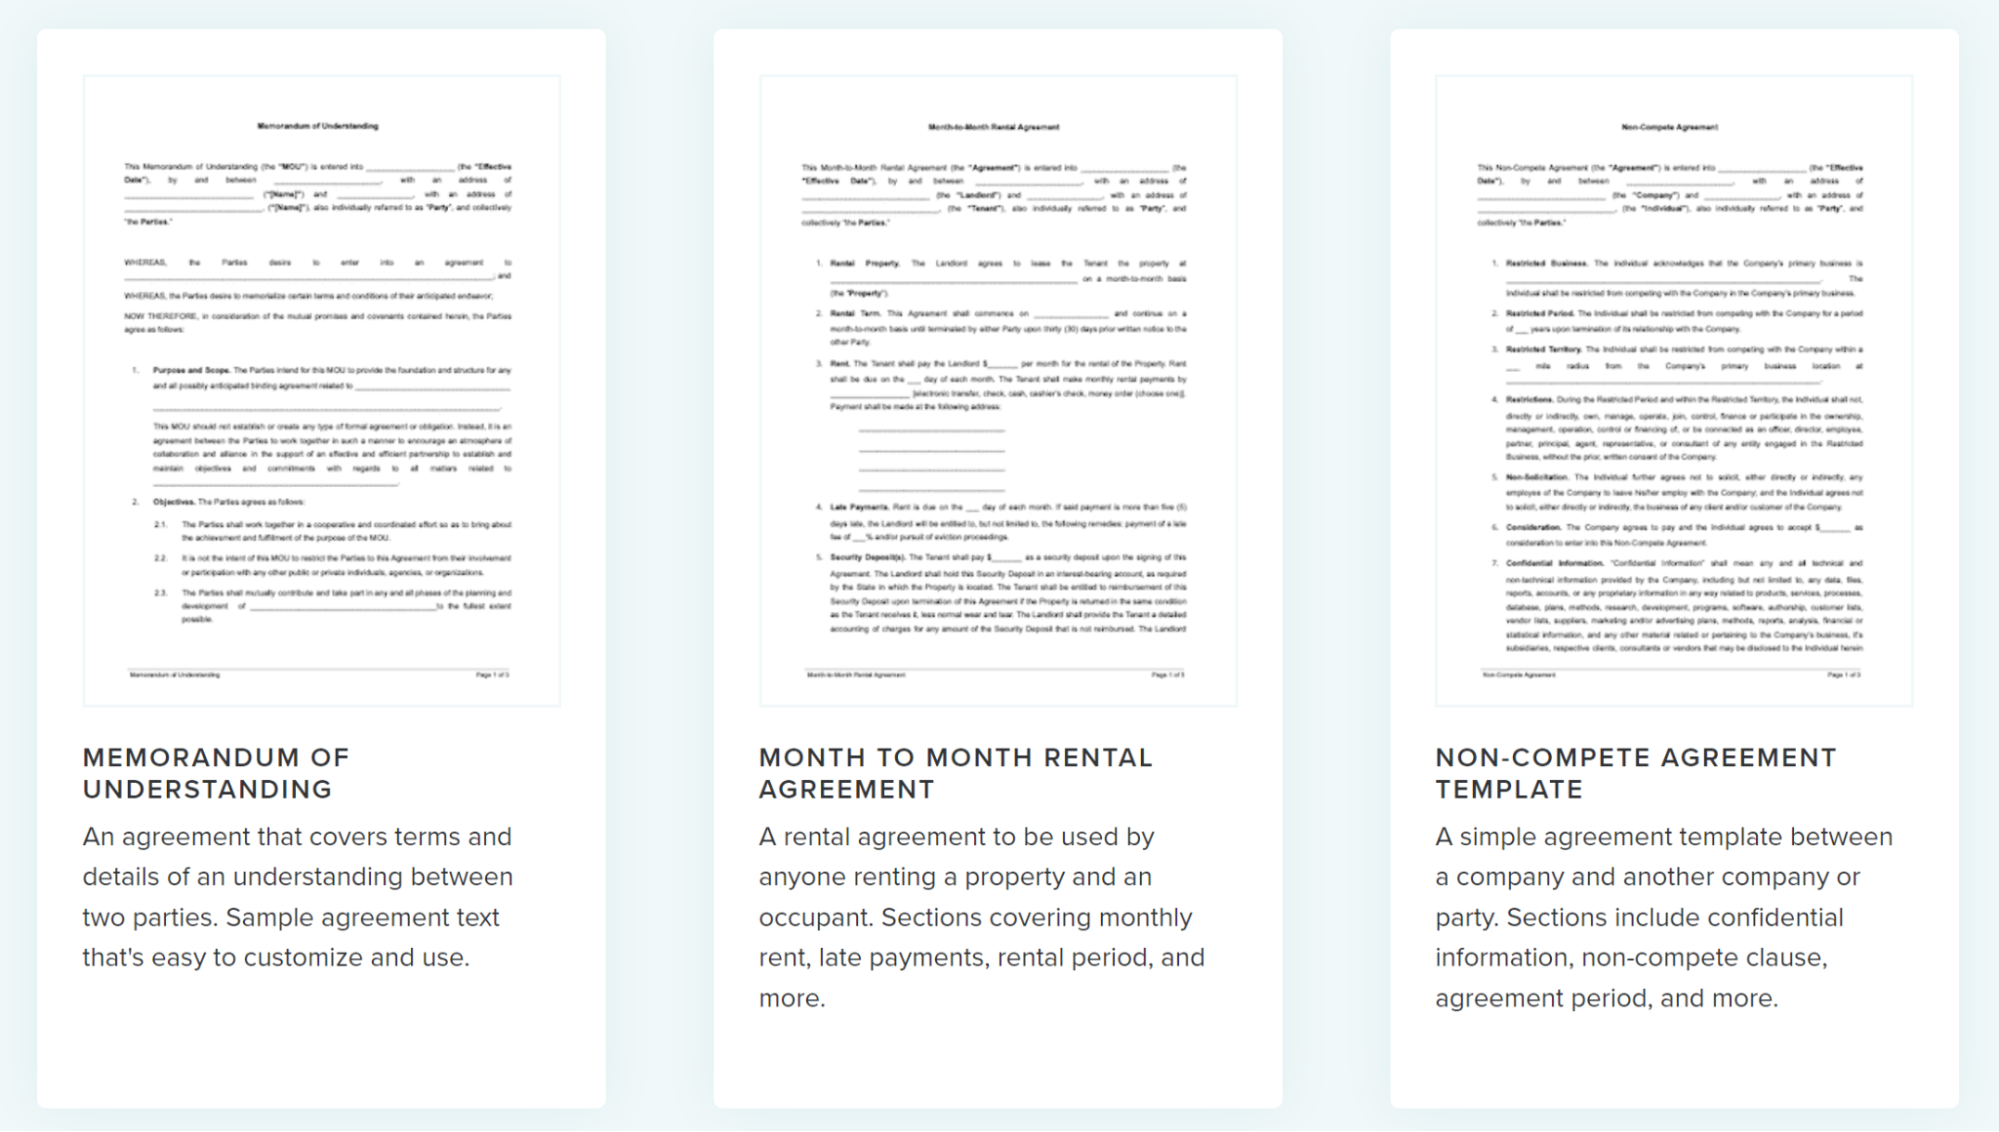
- Find a Template: A more reliable method is to find a vetted template from which you can pull clauses and adapt them to your needs. At SignWell, we have a contract template library full of clauses written by lawyers and contract experts. Use them in full or cherrypick useful parts.

- Write Them Yourself: Finally, you can always write the clauses yourself. To do this, just carefully expand on your notes so that the terms are as clear and unambiguous as possible—if there’s room for interpretation, you’re not done yet.
5. Add Spaces for Signatures
Now, it’s time to add spaces for all parties to sign. Usually, this goes at the end of the contract, but you may want to add spaces for initials on key pages to make sure that all pages were read and agreed upon.
Another thing to consider at this stage? Witnesses and notarization.
For some contracts (and in some jurisdictions), you may need to have witnesses present and sign, too. In some cases, you may even need to have the contract notarized. This adds an extra layer of validity and legality to your agreement.
If needed, add signature sections for these parties, too.
6. Collect Signatures
Next up? Collecting signatures and finalizing the contract.
You have two main options here:
- In-Person Signatures: This is a convenient option IF you’re able to meet with all parties in person. You can print out the contract, have everyone sign it, and make copies for each of you to keep. In-person (wet ink) signatures are universally recognized as legally binding.
- Electronic Signatures: This is a much more convenient option in almost all cases. You simply email or text parties with the document via an e-signing tool, and they fill it in and sign electronically. Plus, with the right tool, e-signatures are equally legally binding.
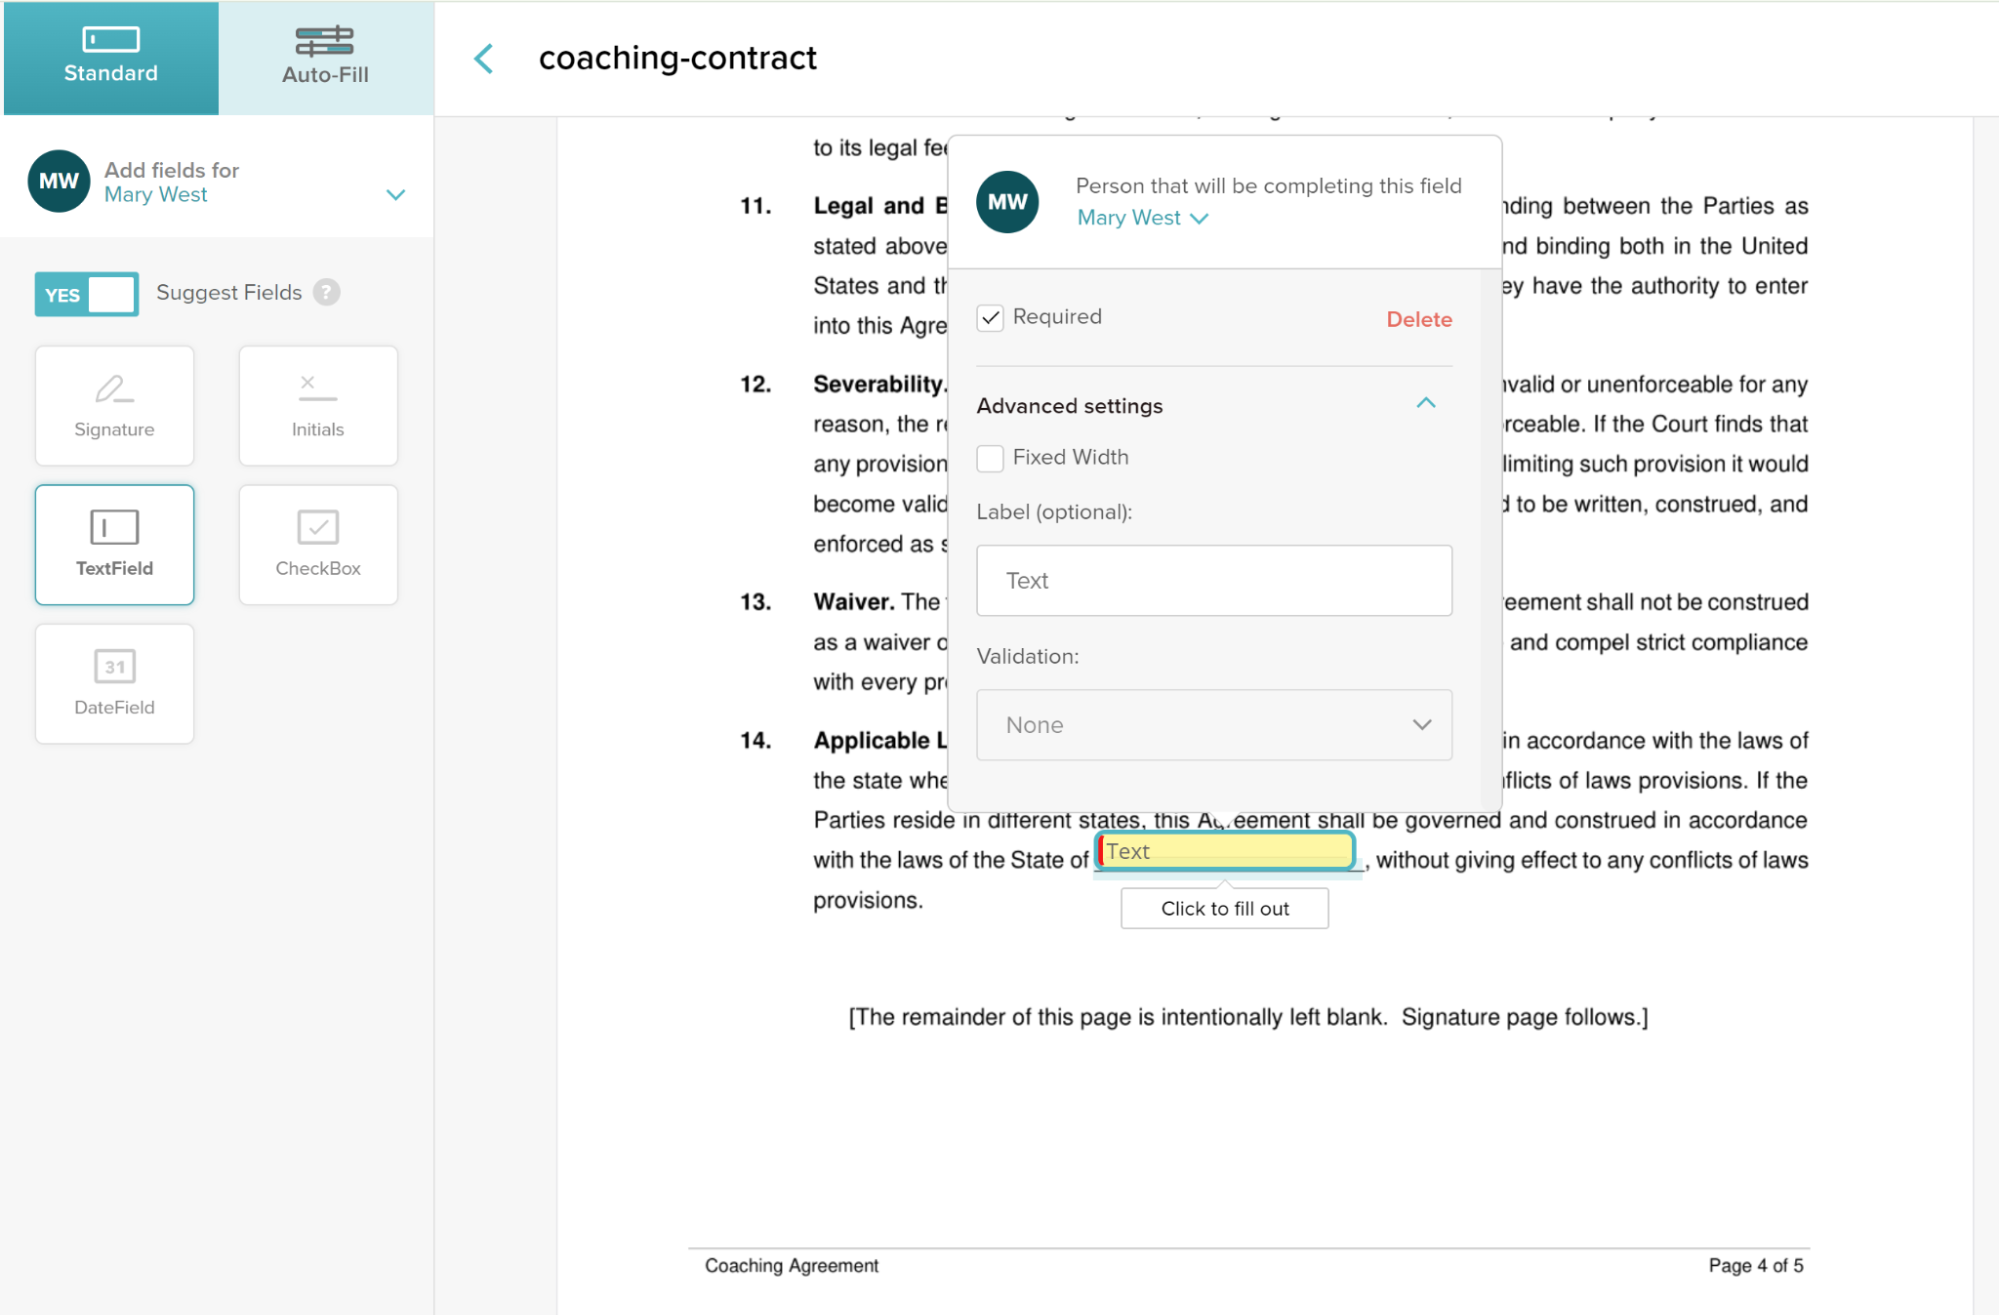
Setting up a contract for e-signature with a tool like SignWell is easy.
Start by uploading your document and adding the contact info (names and email addresses) for all parties. Then, simply drag and drop fields (text, date, checkbox, signature, and initial) onto the document where you want them to appear.

You can also add validation rules for more accuracy.
Once everything is set up, you can set a signing order, click “Send,” and your document goes out to all parties. We even handle reminders and notifications, so you can sit back and relax while we chase signatures for you.
7. Keep Records and Save Templates
Once everyone has signed, the work isn’t (quite) over.
You need to keep records of the transaction in case you ever need to refer back to it. SignWell automatically saves your signed documents in one place for easy access, and generates an audit trail that covers:
- Who signed
- IP addresses
- Timestamps for access and signatures
Finally, if the contact is one that you think you may need to send again, create a template by removing party- and agreement-specific details. You can also create electronic contract templates in SignWell for easy setup in the future.
Conclusion
Understanding and drafting a contract doesn’t need to be daunting. If you’re careful about including all the necessary information and obtaining signatures from all parties involved, you can create a legally binding document that protects your rights.
But remember—if you’re ever in doubt, make sure you consult a legal professional. It can be tempting to save some money with the DIY approach, but it may end up costing you more in disputes if you’re not careful.
Looking for an e-signature tool that helps keep your agreements secure with audit trails, encryption, and compliance with U.S. and international e-signing laws? Give Signwell a try for free today!
Sign with a team that knows what you need.
Putting a signature on a document shouldn’t be hard. The SignWell mission? Simplify how documents get signed for millions of people and businesses.
Get Started Todaybusinesses served, so far...
total documents signed
customer support satisfaction