Here’s How to Quickly Create a Scanned Signature for Digital Documents
7 mins
Creating a scanned signature lets you sign documents digitally without printing. You can do it manually with pen, paper, and MS Paint, or faster with a stylus using SignWell, which offers legally binding eSignatures, secure storage, audit trails, real-time tracking, and multi-device access for seamless document signing.
Creating a scanned signature for your digital documents doesn’t have to be complicated. Whether you’re signing contracts, forms, or agreements, having a quick and simple way to create a scanned signature can save you time and streamline your workflow.
In this SignWell article, we will explain how you can easily create a scanned signature for digital documents using simple tools and methods, ensuring you can sign with confidence and security every time.
But first…
At SignWell, we’ve empowered over 65,000 businesses to simplify their document management with our secure eSignature solution. With years of experience in digital signatures and document workflows, we know how important it is to create quick, reliable scanned signatures for your digital documents. Trust us to help you streamline your signing process with ease and security.
A scanned signature is a digital image of your handwritten signature, usually saved as a JPEG or PNG file. You can insert it into electronic documents to sign contracts, agreements, and other files without printing anything.
Scanned signatures are widely used for remote document signing, and with the right tools, they offer a convenient, secure, and professional solution.
Here are two seamless methods for you to check out:
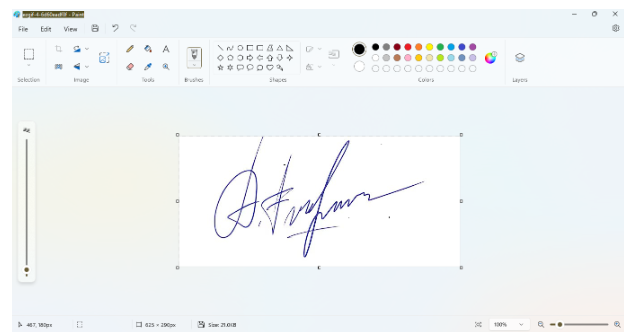
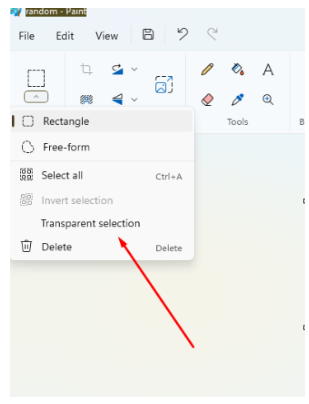
Follow these steps to create a high-quality scanned signature with a transparent background.

Creating a scanned signature works, but it often adds extra steps and manual effort. With SignWell and a stylus, you get the same handwritten look, plus a legally binding eSignature, built-in security, and a faster way to sign and send documents, all in one place.
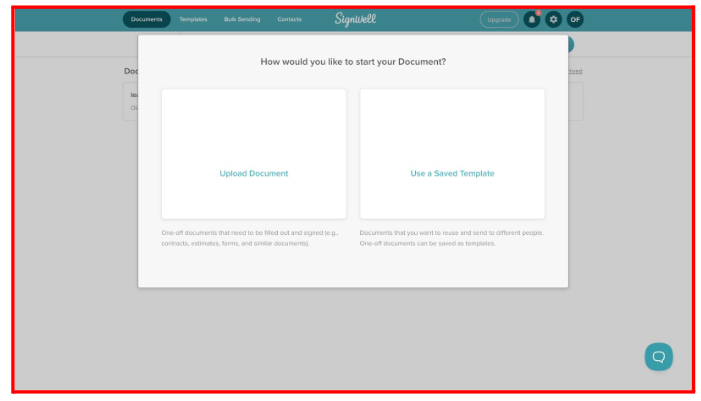
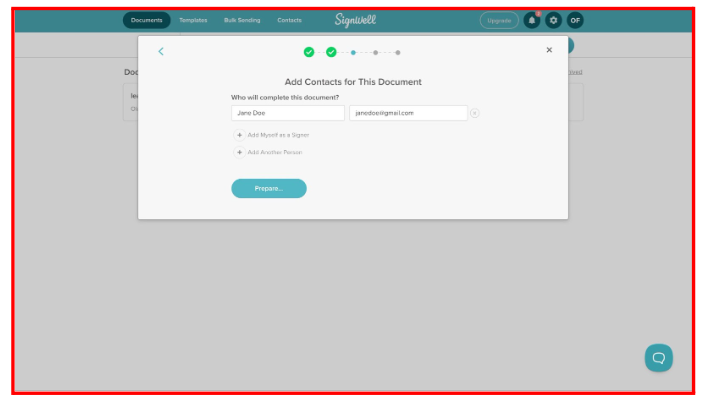
SignWell is a user-friendly eSignature tool that adheres to international eSignature laws. To get started:
After signing up and logging into your account, you’ll see your documents dashboard.
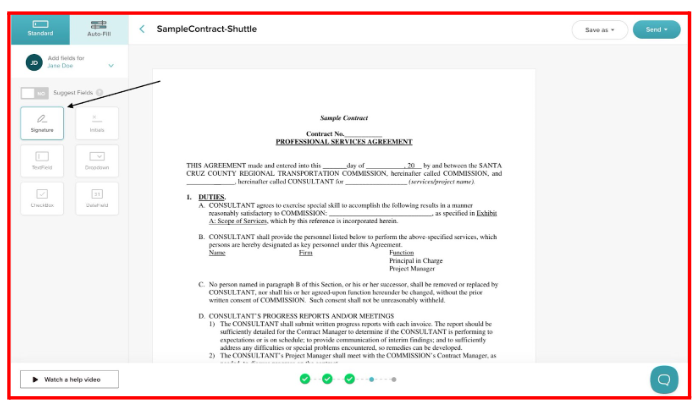
In the preview mode, drag and drop the signature field onto the document where signatures are needed.
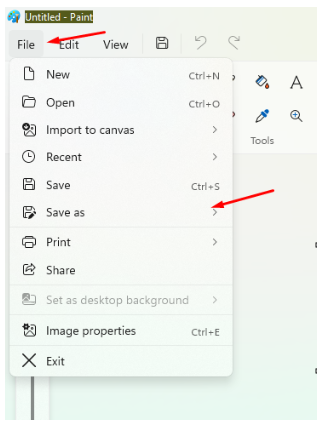
2. Save Your Signature
While a basic tool like MS Paint can be used to create a scanned signature, SignWell offers a range of advantages that make it a superior choice for both personal and professional use. Here are some of the benefits:
With SignWell, you can create your eSignature and use it to sign documents all in one streamlined platform. Unlike with MS Paint, there’s no need to create a separate image file of your signature and then upload it when signing documents; everything you need is in one place, allowing for a faster, seamless experience.
SignWell’s electronic signatures are compliant with both U.S. and international eSignature laws. This means that your signed documents carry the same legal weight as traditional handwritten signatures, ensuring that your digital signature meets legal standards.
SignWell’s intuitive interface makes it easy to upload, prepare, and sign documents even if you’re not particularly tech-savvy. This simplicity allows anyone to create a digital signature and complete their signing process with ease.
SignWell offers features like reusable templates, predefined signature fields, and customizable workflows. These capabilities make it easy to create and apply your digital signature to documents that need multiple signatures or repeated use, saving you time and maintaining consistency across various documents.
With SignWell, you can monitor the signing status of your documents in real time. See who has signed, who still needs to sign, and even send automated reminders to recipients. This is a very useful feature for contracts and time-sensitive documents.
Each signed document in SignWell comes with a comprehensive audit report that includes timestamps and a record of each action taken. This transparency provides an additional layer of security, ideal for professional and legal documentation that needs to be traceable.
SignWell is accessible on computers, tablets, and smartphones, enabling you to create and manage your digital signature on the go. This flexibility is perfect for users who need access to their documents and signatures from anywhere.
Creating a polished, professional-looking digital signature is simple with the right tools. In this guide, we covered two approaches: a manual method using pen, paper, and a scanner, and a faster, digital approach using a stylus with SignWell, a powerful eSignature tool.
Using SignWell with a stylus allows you to create your eSignature and sign documents all in one efficient process, complete with encryption, audit trails, and an intuitive interface to manage signatures, track document progress, and receive real-time notifications.
With these advanced features, SignWell protects your business while streamlining the signing process.
Ready to make signing documents simpler? Sign up for SignWell today
Scanned signatures are commonly accepted for many business documents, employment contracts, and internal approvals. However, documents that specifically require a “written form” may need a compliant electronic signature platform to be fully valid.
Yes, a scanned signature is just an image file, so it can be copied if it is not stored securely. Using an eSignature platform adds security features like authentication, audit logs, and tamper protection to reduce this risk.
No special software is required. A scanned signature can be inserted into documents using common tools like Word, PDF editors, or online document platforms. For better security and tracking, an eSignature tool is recommended.
No. A scanned signature is simply an image of your handwriting. A digital or electronic signature includes verification, timestamps, and audit trails that help prove who signed and when.
Store your scanned signature in a secure folder, password-protected cloud storage, or within a trusted eSignature platform. Avoid sharing the image file directly through unsecured email or messaging apps.
businesses served
customer support satisfaction
documents signed